Tutorials Stripe Subscriptions
The setup for Stripe subscriptions and one-time payments is the same.
Creating a Stripe Checkout to set up a subscription or one-time payment for your product has
never been easier.
In this tutorial, we'll go over the required steps and let the pre-configured webhook in Just Launch It handle the rest.
Setup
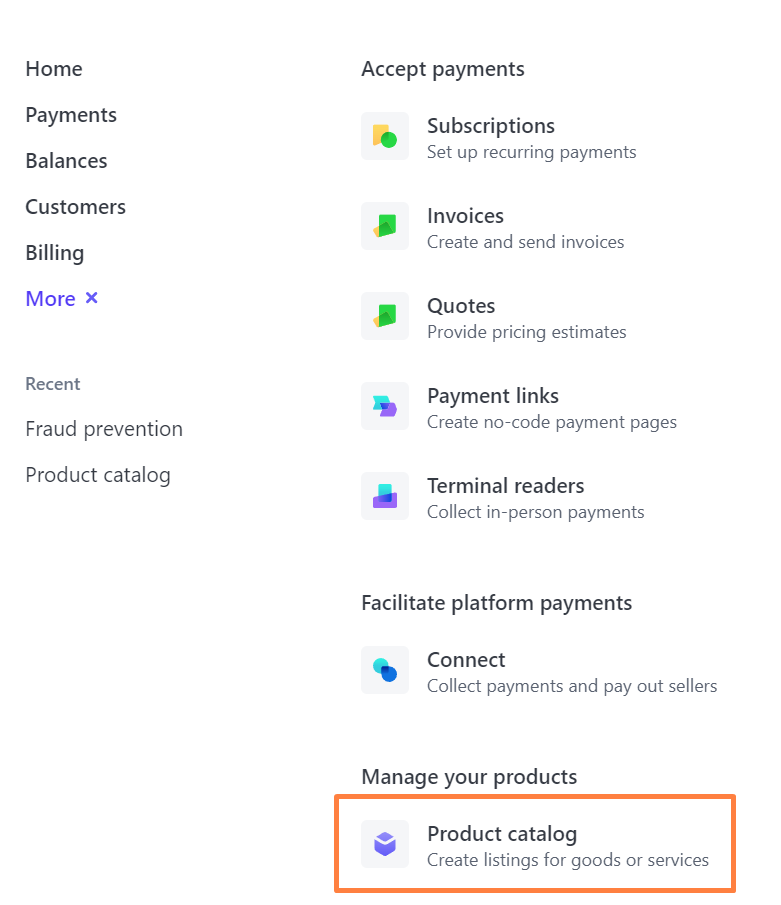
1. Create your products and prices in your Stripe dashboard
via [More +] > Product catalog > [+ Add Product]. You should set a name, a monthly or one-off
price and other relevant details for your product.


2. After creating your product, in the [Pricing] section, copy the product price ID (starts
with
price_) and add it to the
/src/lib/just-launch-it.config.ts
config file./src/lib/just-launch-it.config.ts
 1	/**
 2	 * Stripe related configuration options
 3	 */
 4	stripe: {
 5		enabled: true,
 6		isSubscription: true, // True for recurring type products; false for one-time payment products
 7		pricePeriod: 'month', // If a subscription, the period of the subscription cycle
 8		trialPeriodDays: 14, // Optionally configure a trial period, set to 0 for no trial
 9		products: [
10			{
11				priceId: '[YOUR PRICE ID HERE]',
In the same file, you can also configure names, descriptions, prices, features and other
settings to be used in the Just Launch It pricing
components.
3. Add a checkout button to let your users purchase your product! Just Launch It
comes with pre-configured components to make this a breeze, or you can create a custom component
for this.
/src/routes/pricing/+page.svelte
1<script lang="ts">
2	// ...
3	import Pricing from '$lib/sections/pricing.svelte';
4	// ...
5</>
6
7<!-- ... -->
8<Pricing />
9<!-- ... -->
4. After checkout, users are redirected to your
/dashboard
page. Stripe webhooks are automatically setup and configured to work, but you can add your custom
logic in
/src/routes/webhooks/stripe/+server.ts. You could include custom logic to send abandoned cart emails etc.5. Just Launch It automatically handles
subscription access which you can use to control access to paid features of your product.
For your convenience, any routes created under the
/src/routes/(authenticated)/(subscribed)
directory are automatically protected by both authentication and active subscription requirements.
But you are free to use the
hasAccess local variable in any route to check for subscription access.6. Use the
<ManageBilling />
component to let your users manage their subscription and billing details.